Civo Bootstrap Installation
Deploy Konstruct on a Civo Kubernetes cluster with a self-hosted GitLab instance as the git provider. Three steps: create a Civo cluster, create a GitLab OAuth App, then run Terraform.
In the 0.6 release line, the Civo self-hosted control plane supports self-hosted GitLab as its git provider and Cloudflare as its DNS provider. Other combinations (GitLab SaaS, GitHub on Civo, other DNS providers) are available in patch releases on public or client request.
Prerequisites
- A Civo account and API key (get one here)
civoCLI (install guide)- Terraform 1.5+
kubectlv1.30+- A domain you control, managed as a Cloudflare zone (nameservers pointed at Cloudflare)
- A self-hosted GitLab instance reachable from the cluster, and a user with Owner access to a group
Step 0: Create a Civo Kubernetes Cluster
If you already have a cluster, skip to Step 1.
civo apikey save konstruct <YOUR_API_KEY>
civo apikey current konstruct
civo region use NYC1

civo kubernetes create konstruct-mgmt \
  --region NYC1 \
  --nodes 3 \
  --size g4s.kube.medium \
  --cluster-type k3s \
  --create-firewall \
  --firewall-rules "80;443;6443"
Civo clusters provision fast — usually under two minutes.
Cluster requirements:
- Minimum 3x
g4s.kube.mediumnodes (the platform deploys ESO, cert-manager, Envoy Gateway, external-dns, Dex, Vault in HA, and the Konstruct platform with its operators) - Firewall must allow
80and443(Let's Encrypt HTTP-01 challenges and platform traffic) plus6443(Kubernetes API) - No special CNI or storage requirements — k3s defaults work
Verify nodes:
civo kubernetes config konstruct-mgmt --region NYC1 > ./konstruct-mgmt.kubeconfig
export KUBECONFIG=$PWD/konstruct-mgmt.kubeconfig
kubectl get nodes
# Expect 3 nodes in Ready state
Step 1: Create a GitLab OAuth App
Konstruct uses a GitLab OAuth application on your self-hosted instance for user authorization and repository management.
Create a group
If you don't already have one, create the GitLab group that will own your GitOps repositories (for example, platform). Your GitLab user needs Owner access to it.
Create the OAuth application
- In your GitLab instance, go to one of:
- Instance-level: Admin Area > Applications > New application
- Group-level: Your group > Settings > Applications > Add new application
- Configure:
-
Name:
konstruct-<your-domain>(e.g.,konstruct-example-com) -
Redirect URI:
https://konstruct.<your-domain>/api/v1/gitlab/callback -
Scopes: check
api,read_repository,write_repository -
Leave Confidential checked
-
- Click Save application
- Note the Application ID and Secret — you will need both for
terraform.tfvars
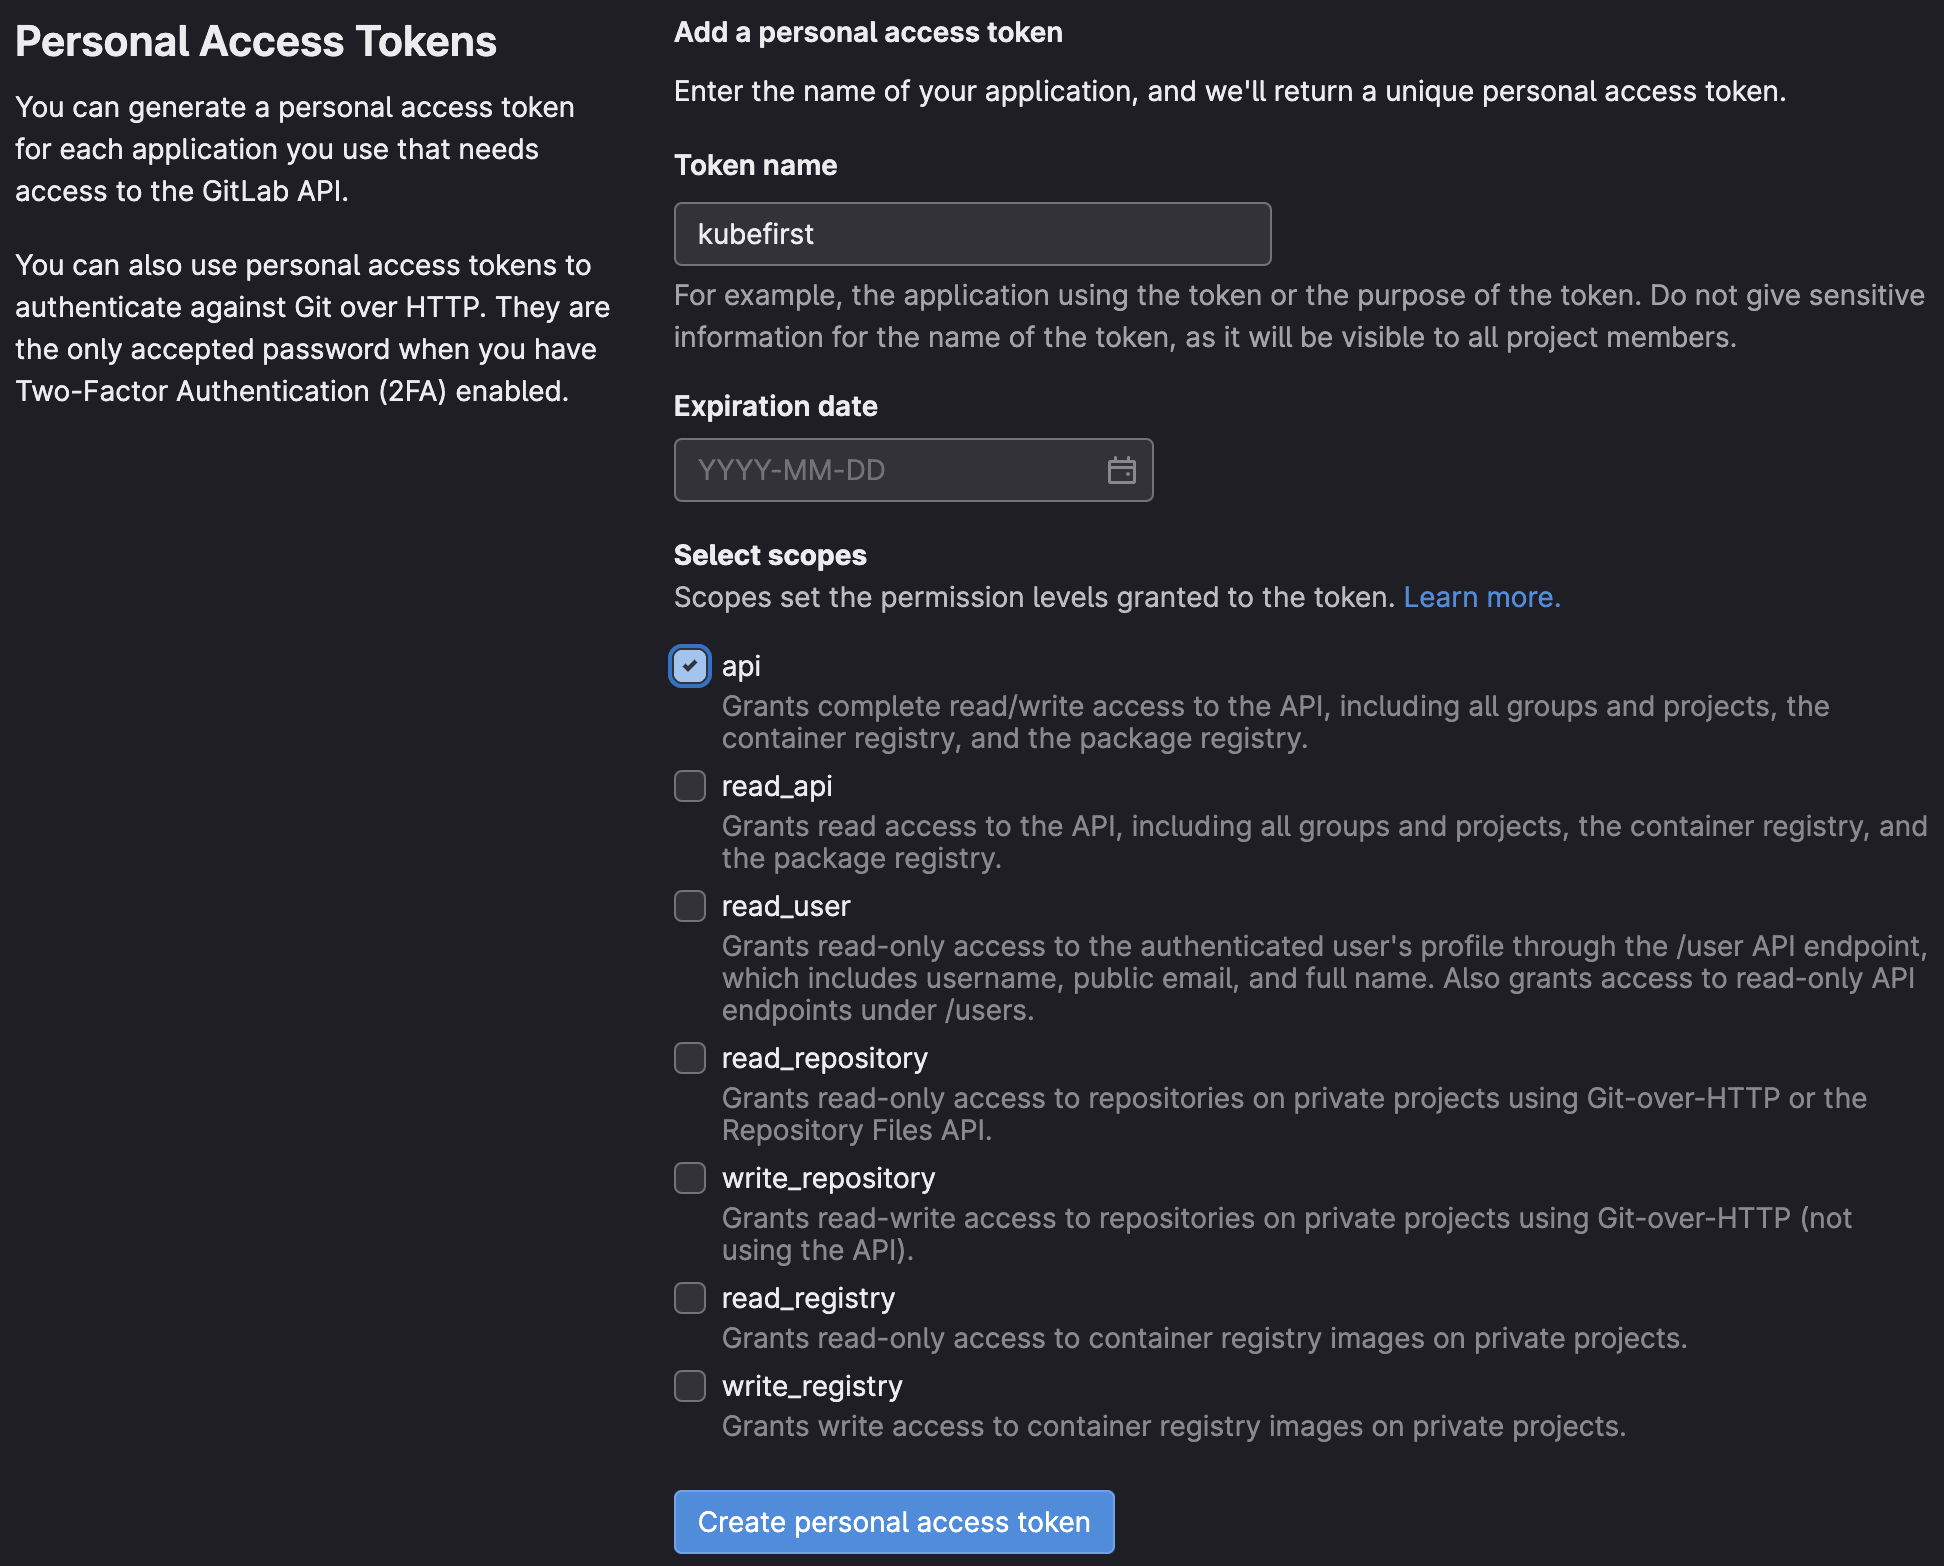
The redirect URI must exactly match https://konstruct.<your-domain>/api/v1/gitlab/callback. A trailing slash or wrong path will cause OAuth to fail silently. (The /api/v1/auth/callback path used elsewhere in these docs belongs to the Dex OIDC client, not the GitLab application.)
What the scopes grant
| Scope | Purpose |
|---|---|
api | Create and manage repositories, webhooks, and group members |
read_repository | Clone and read GitOps repository contents |
write_repository | Push GitOps manifests during cluster provisioning |
Step 2: Create a Cloudflare API Token
Konstruct's external-dns manages DNS records for the platform hostnames (konstruct.<domain>, dex.<domain>, vault.<domain>) in your Cloudflare zone.
- Go to Cloudflare API Tokens and click Create Token
- Use the Edit zone DNS template
- Configure:
- Permissions:
Zone / DNS / Edit, plus addZone / Zone / Read - Zone Resources:
Include / Specific zone / <your-domain>
- Permissions:
- Click Continue to summary, then Create Token, and copy the token value (shown once)
Verify the token before using it:
curl -s -H "Authorization: Bearer <YOUR_TOKEN>" \
  "https://api.cloudflare.com/client/v4/zones?name=<your-domain>" | jq '.success'
# Expect: true
Step 3: Run Terraform
Terraform installs the platform services and the Konstruct chart onto your cluster, and creates a Civo Object Store for platform state.
git clone https://github.com/konstructio/konstruct-aws.git
cd konstruct-aws/konstruct-bootstrap-job-role-civo
Generate a bcrypt password hash
The dex_config.admin_password field requires a bcrypt hash of your desired login password:
htpasswd -nbBC 10 "" 'your-password' | tr -d ':\n' | sed 's/$2y/$2a/'
Copy the output (starts with $2a$10$...). Remember the plain text password — you'll use it to login to Konstruct as the kbot user.
Use a simple alphanumeric password. Special characters like ! can break shell quoting.
Generate a shared OIDC secret
The oidc_client_secret in konstruct_api_config must match the secret in dex_config.static_clients[0]:
openssl rand -hex 32
Configure terraform.tfvars
cluster_name     = "konstruct-mgmt"
civo_region      = "NYC1"
civo_token       = "<YOUR_CIVO_API_KEY>"
domain           = "your-domain.com"
alerts_email     = "alerts@your-domain.com"
gitops_repo_name = "platform-gitops"

konstruct_chart_version = "0.6.0"  # or a specific published version

cloudflare_api_token = "<YOUR_CLOUDFLARE_TOKEN>"  # From Step 2

gitlab_config = {
  owner         = "platform"                        # Group from Step 1
  base_url      = "https://gitlab.your-company.com" # Your self-hosted GitLab
  client_id     = "<APPLICATION_ID>"                # From Step 1
  client_secret = "<SECRET>"                        # From Step 1
  redirect_url  = "https://konstruct.your-domain.com/api/v1/gitlab/callback"
}

konstruct_api_config = {
  admin_user            = "kbot"
  client_email          = "admin@your-domain.com"
  license_validator_url = ""
  oidc_client_id        = "konstruct"
  oidc_client_secret    = "<YOUR_SHARED_SECRET>"    # From openssl command above
  webhook_url           = ""
}

dex_config = {
  admin_password = "$2a$10$..."  # bcrypt hash from htpasswd command above

  # Azure AD (optional — leave empty if not using Azure SSO)
  azure_client_id     = ""
  azure_client_secret = ""
  azure_tenant_id     = ""

  static_clients = [
    {
      id     = "konstruct"
      name   = "Konstruct"
      public = false
      redirectURIs = [
        "https://konstruct.your-domain.com/api/v1/auth/callback"
      ]
      secret = "<YOUR_SHARED_SECRET>"  # Must match oidc_client_secret above
    }
  ]
}
Apply
terraform init
terraform plan   # Review: expect ~38 resources to add on a fresh install
terraform apply
Open a second terminal and watch pods come up: kubectl get pods -A -w
This creates:
- A Civo Object Store (
<cluster_name>-state-store) and credentials for platform state - Namespaces:
vault,external-secrets-operator,dex,external-dns,envoy-gateway-system,konstruct-system - CRDs:
helmtemplates,pipelinetemplates, Gateway API - Helm releases: External Secrets Operator, Cert Manager, Envoy Gateway, External DNS (Cloudflare), Vault (HA Raft), Dex, Konstruct
- Envoy
Gatewaywith HTTPS listeners forkonstruct.<domain>,dex.<domain>,vault.<domain>, plus an HTTP-to-HTTPS redirect - Vault initialization and configuration jobs (init, unseal, seed secrets)
- ClusterSecretStore (
vault-kv-secret), ClusterIssuer (letsencrypt-prod) - The
konstruct-initial-statesecret that pins yourchart_versionfor Argo CD
Vault initialization adds a few minutes — the vault-handler and vault-config jobs must complete before Dex and Konstruct become fully ready.
Step 4: Verify DNS and TLS
Cloudflare DNS records are created automatically by external-dns — no manual delegation is needed since your zone already lives on Cloudflare.
# 1. Gateway has an external address (Civo load balancer)
kubectl get gateway -n default
kubectl get svc -n envoy-gateway-system

# 2. external-dns has written the records
kubectl logs -n external-dns deploy/external-dns | tail -20
dig konstruct.your-domain.com +short

# 3. Certificates are issued (HTTP-01 via the Gateway)
kubectl get certificates -A
kubectl get challenges -A
Certificates stay Pending until DNS resolves to the load balancer; this usually completes within a few minutes on Cloudflare.
Step 5: Login and Onboard
Check readiness:
kubectl get pods -n konstruct-system
kubectl get certificates -A
Once certificates show Ready = True:
- Open
https://konstruct.<your-domain> - Login with username kbot and the plaintext password you hashed in Step 3
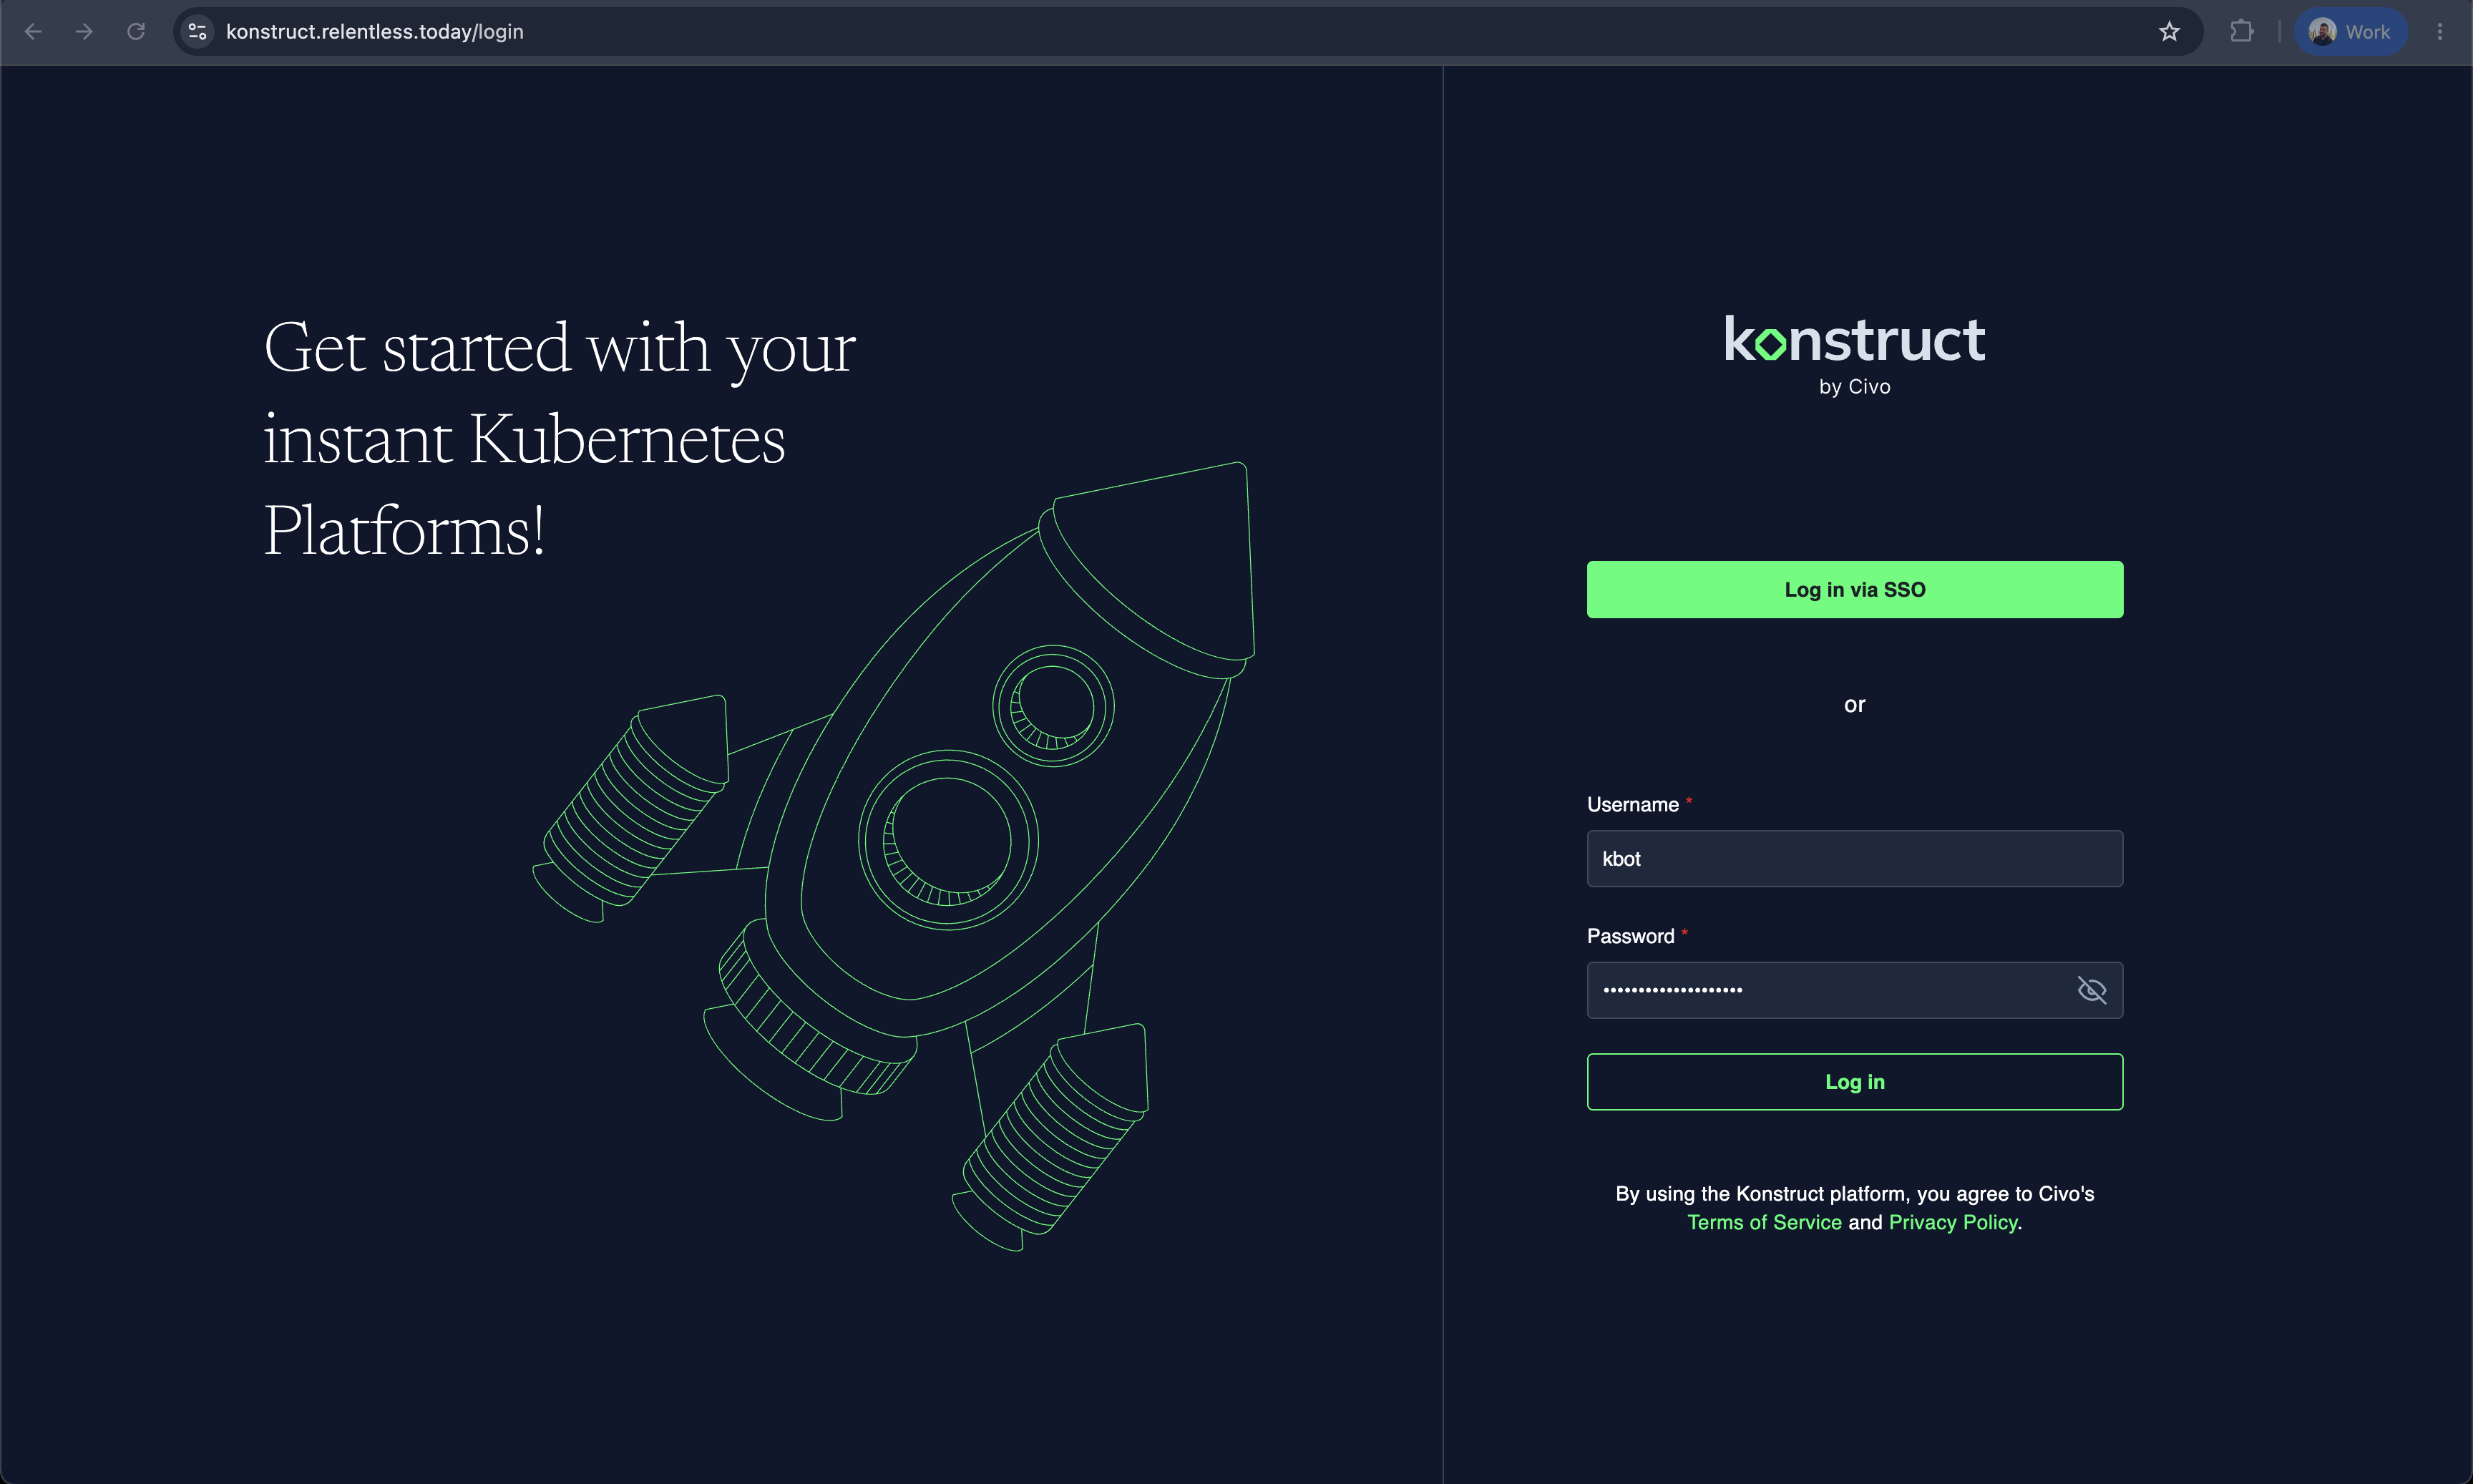
Connect GitLab
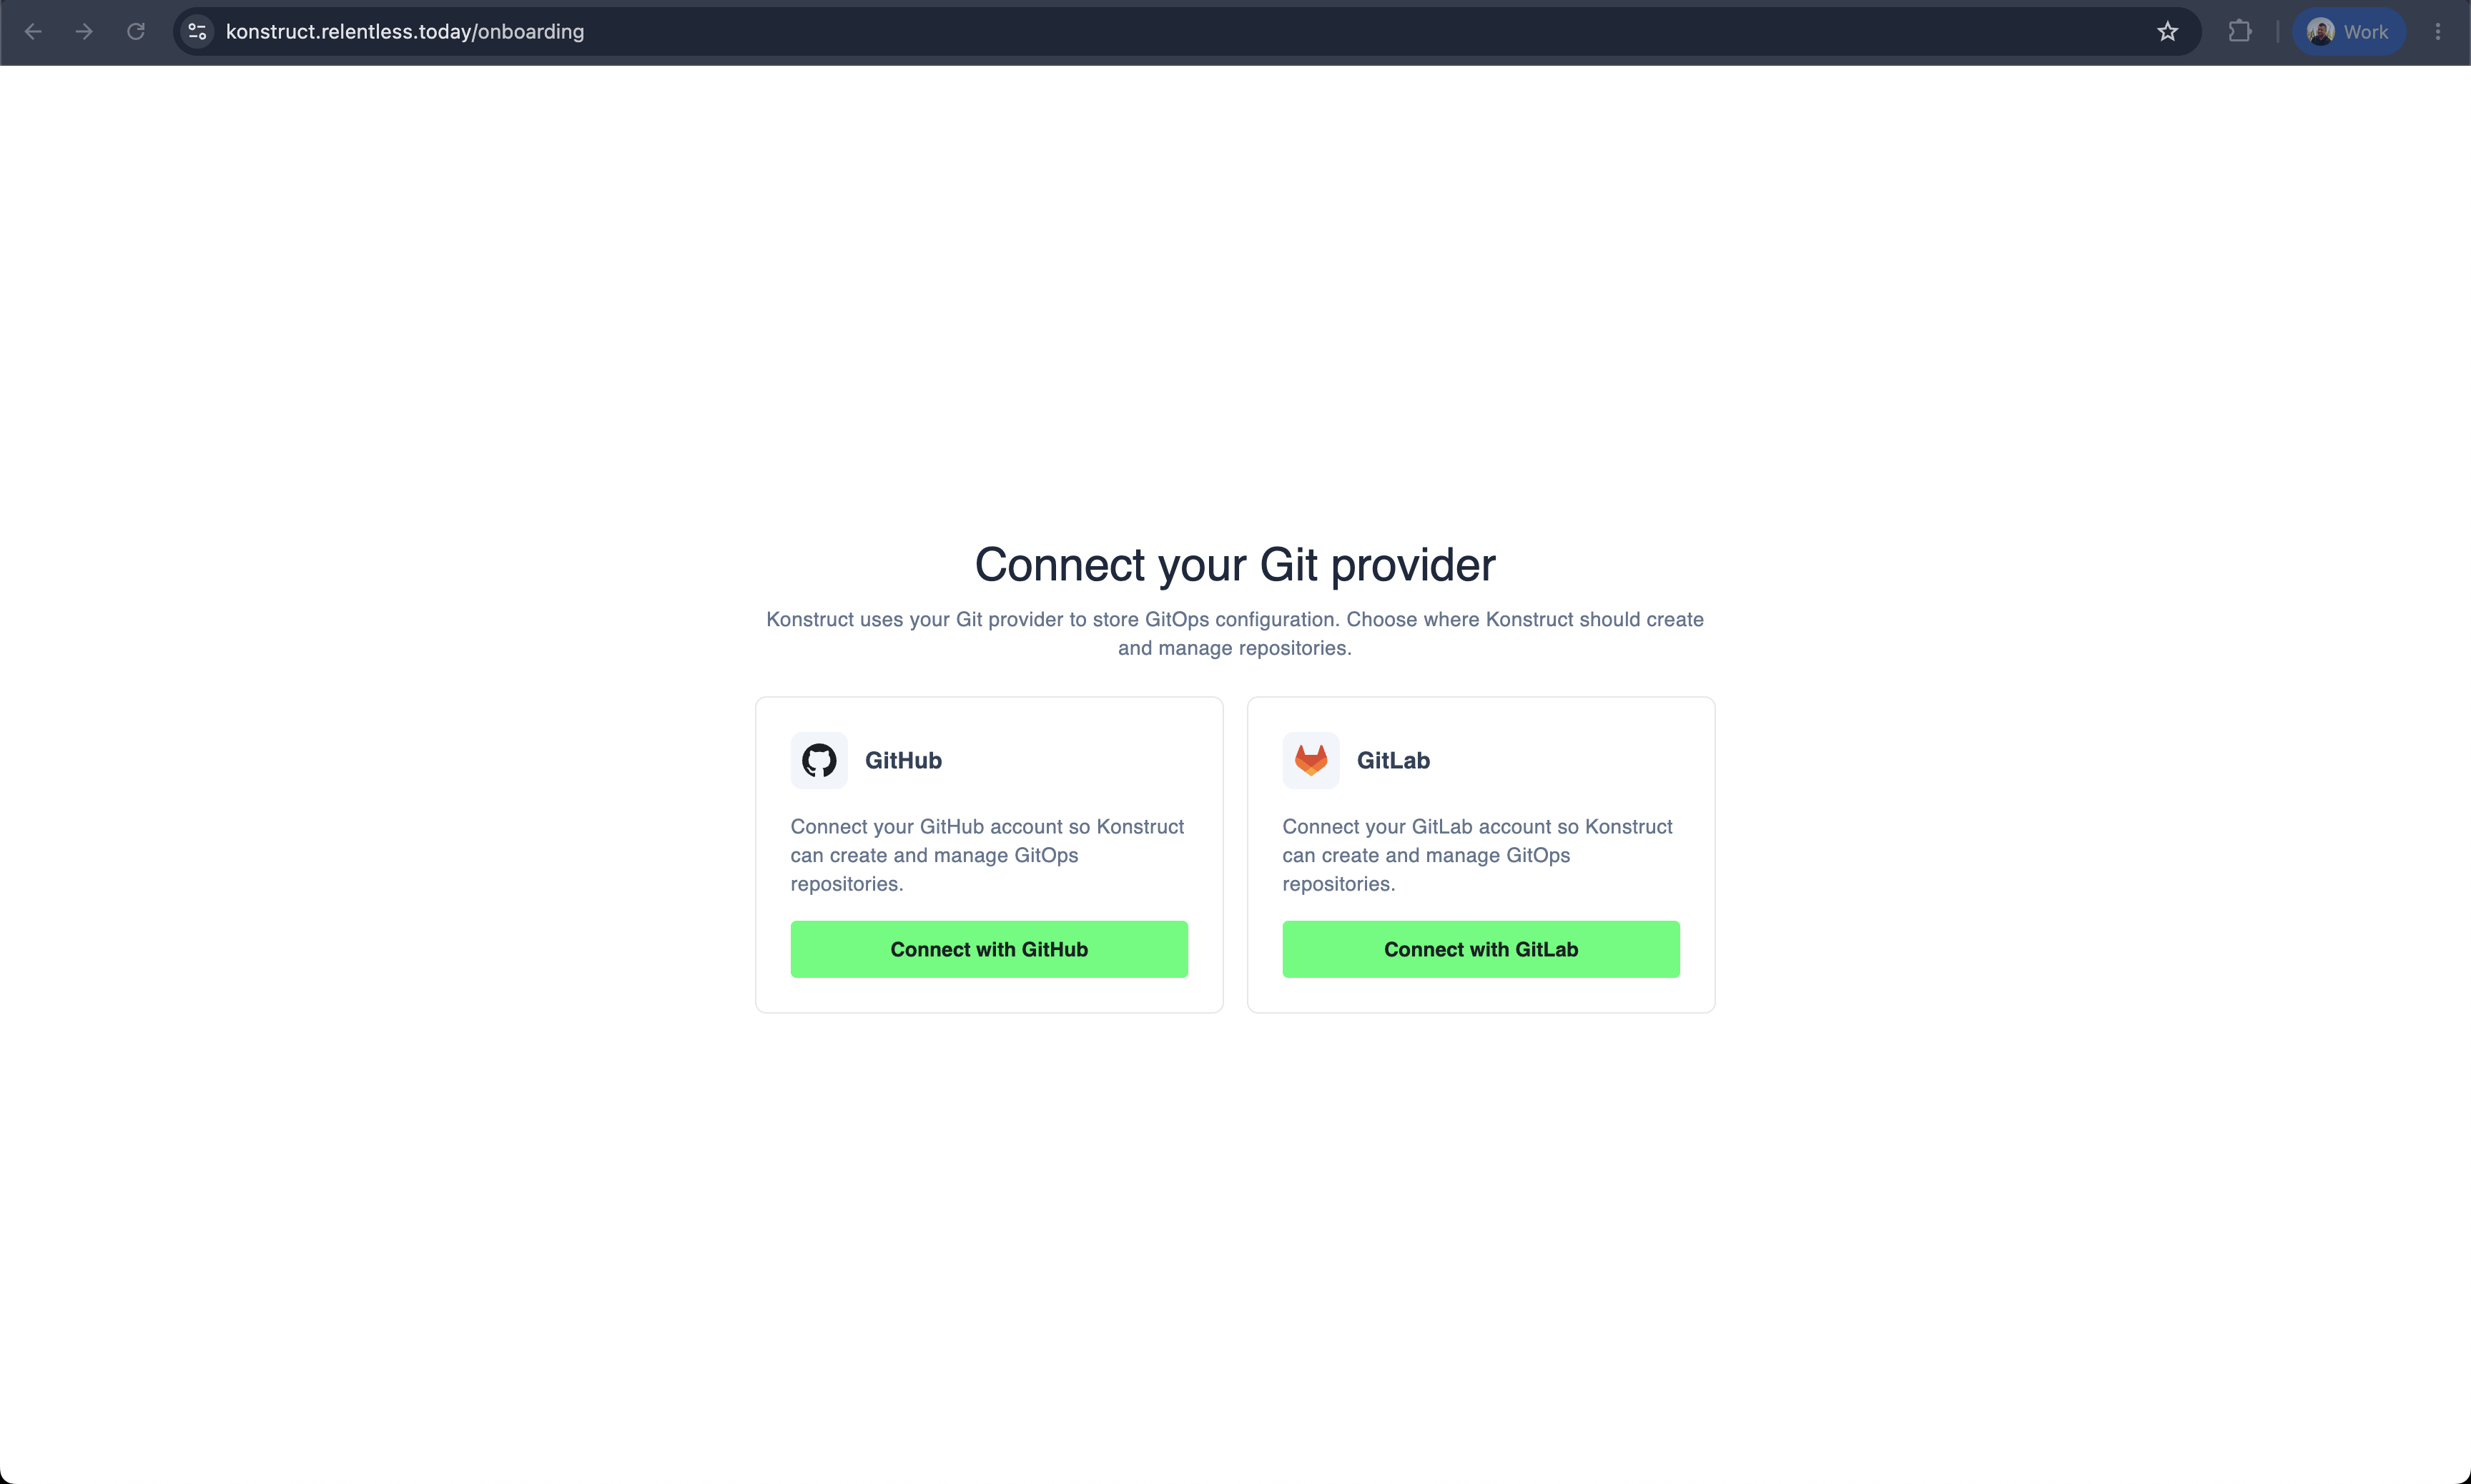
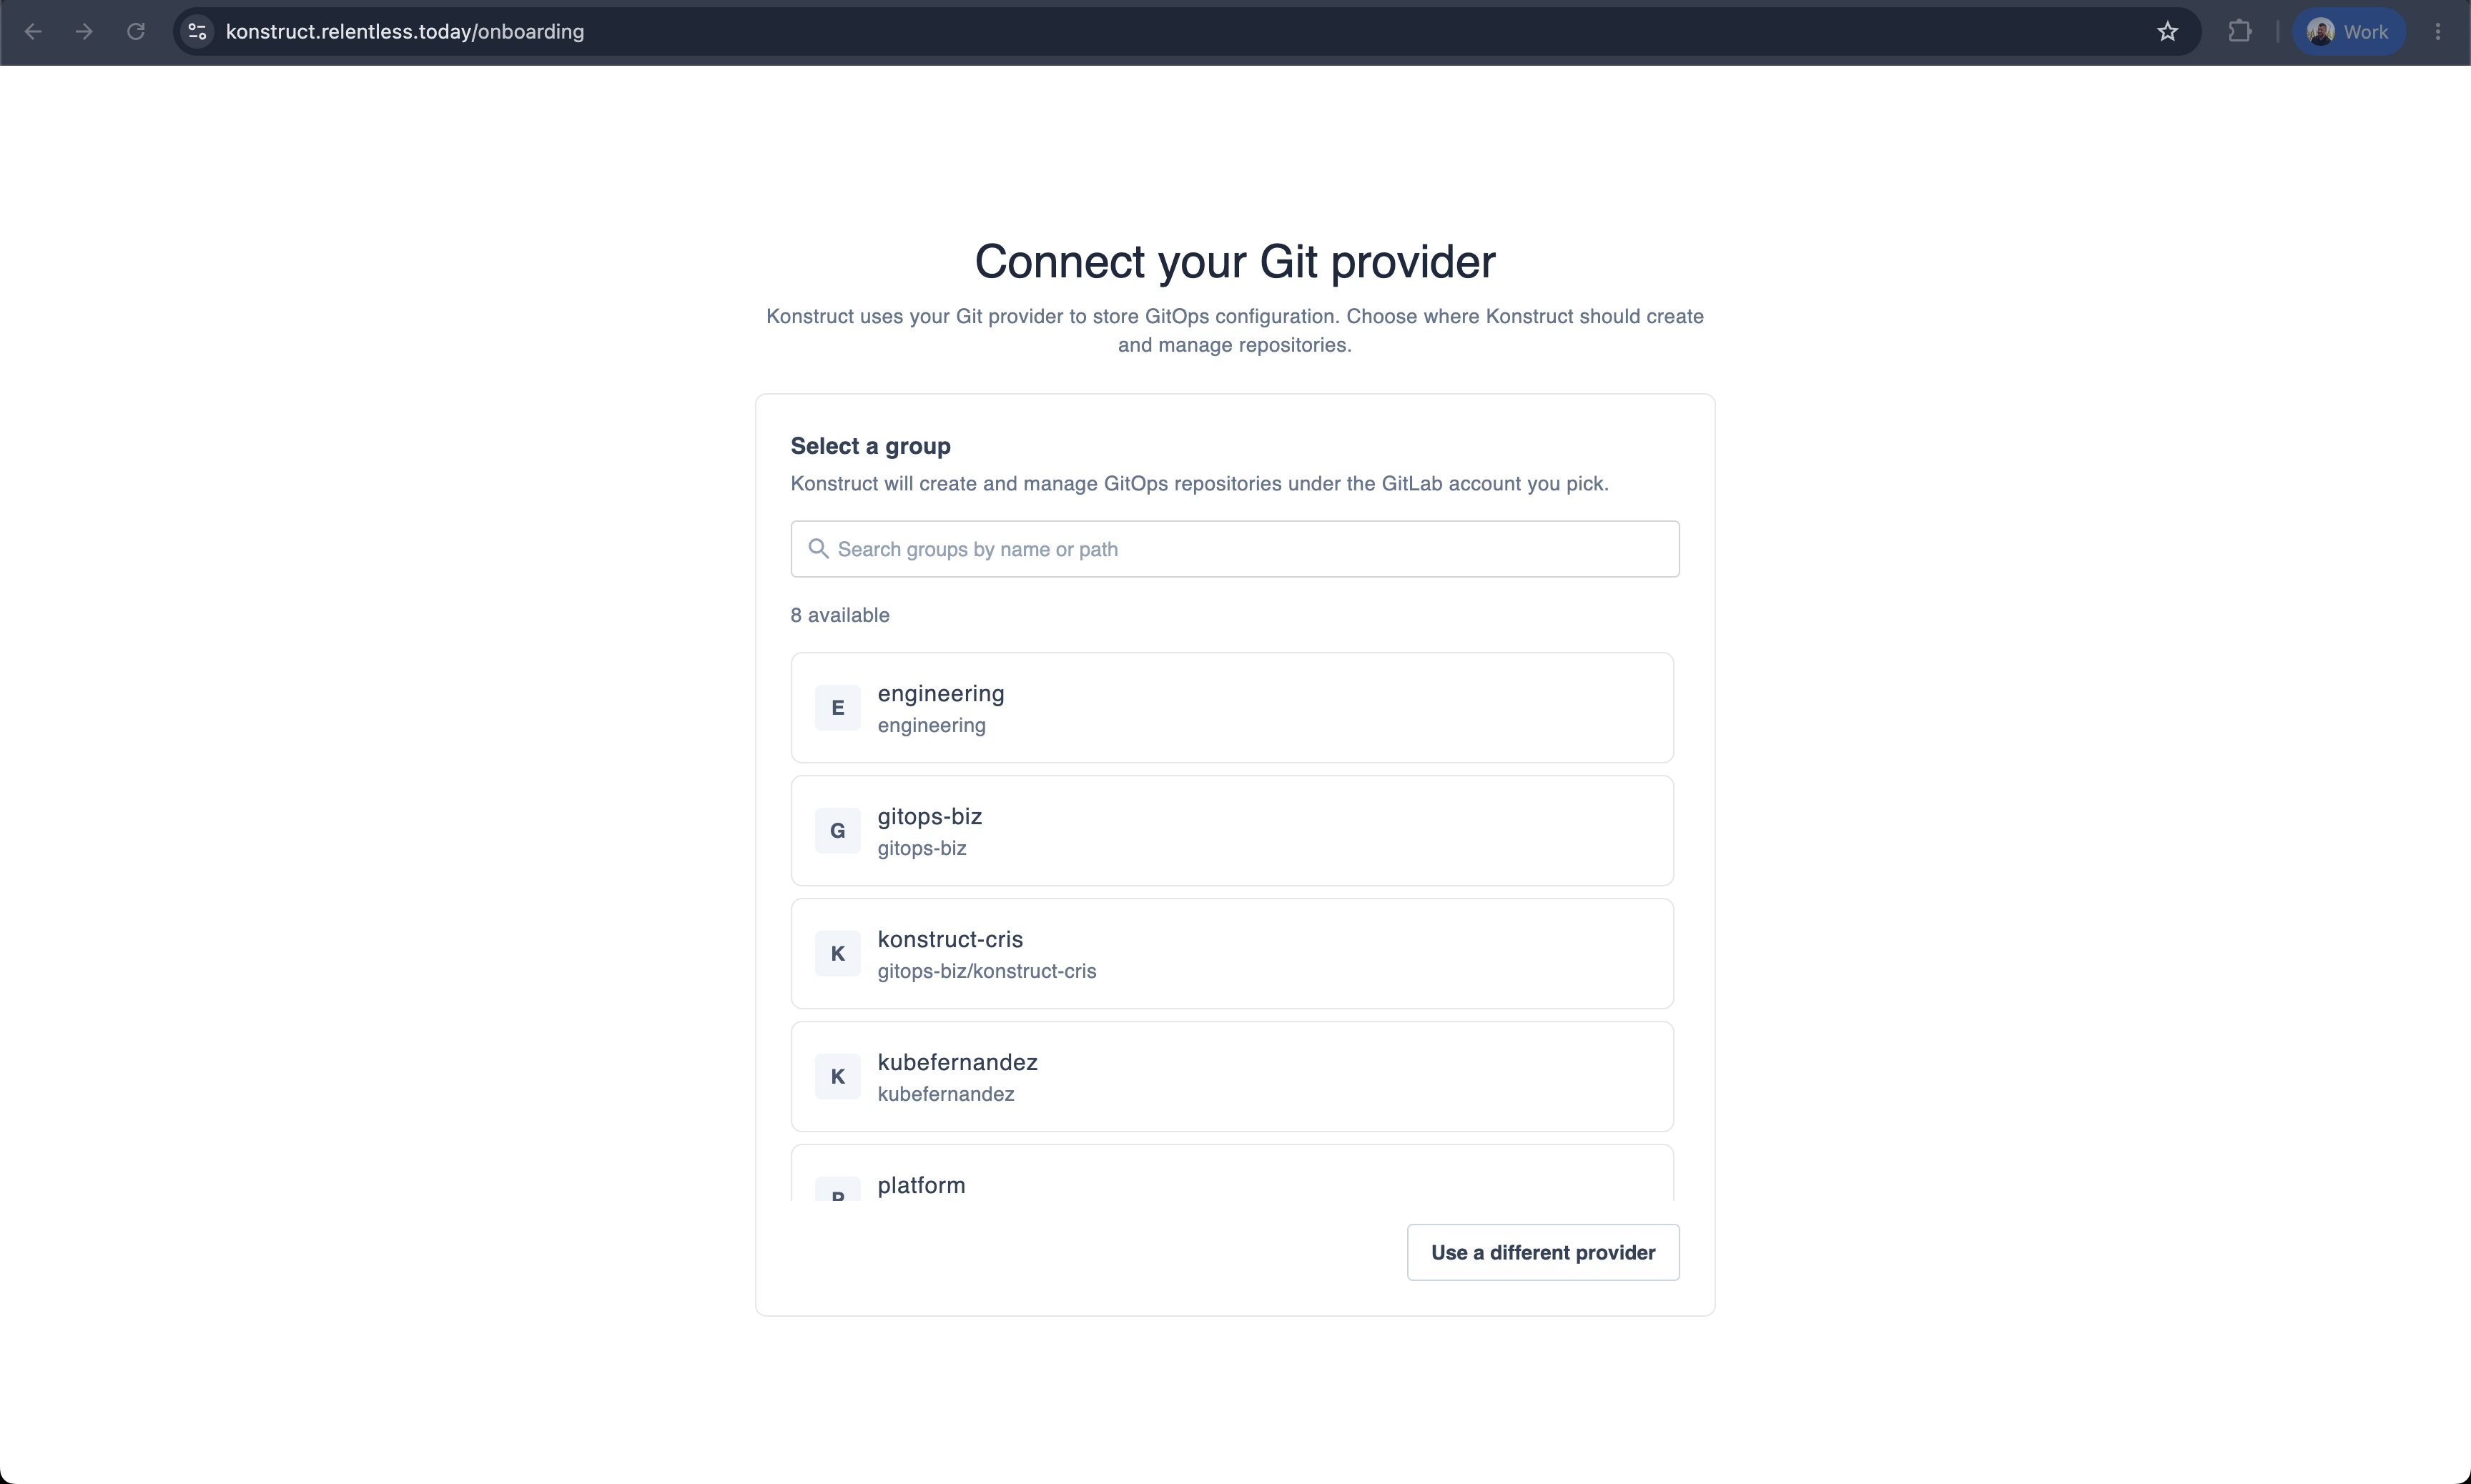
After login, Konstruct redirects you to the onboarding page: "Connect your Git provider".
-
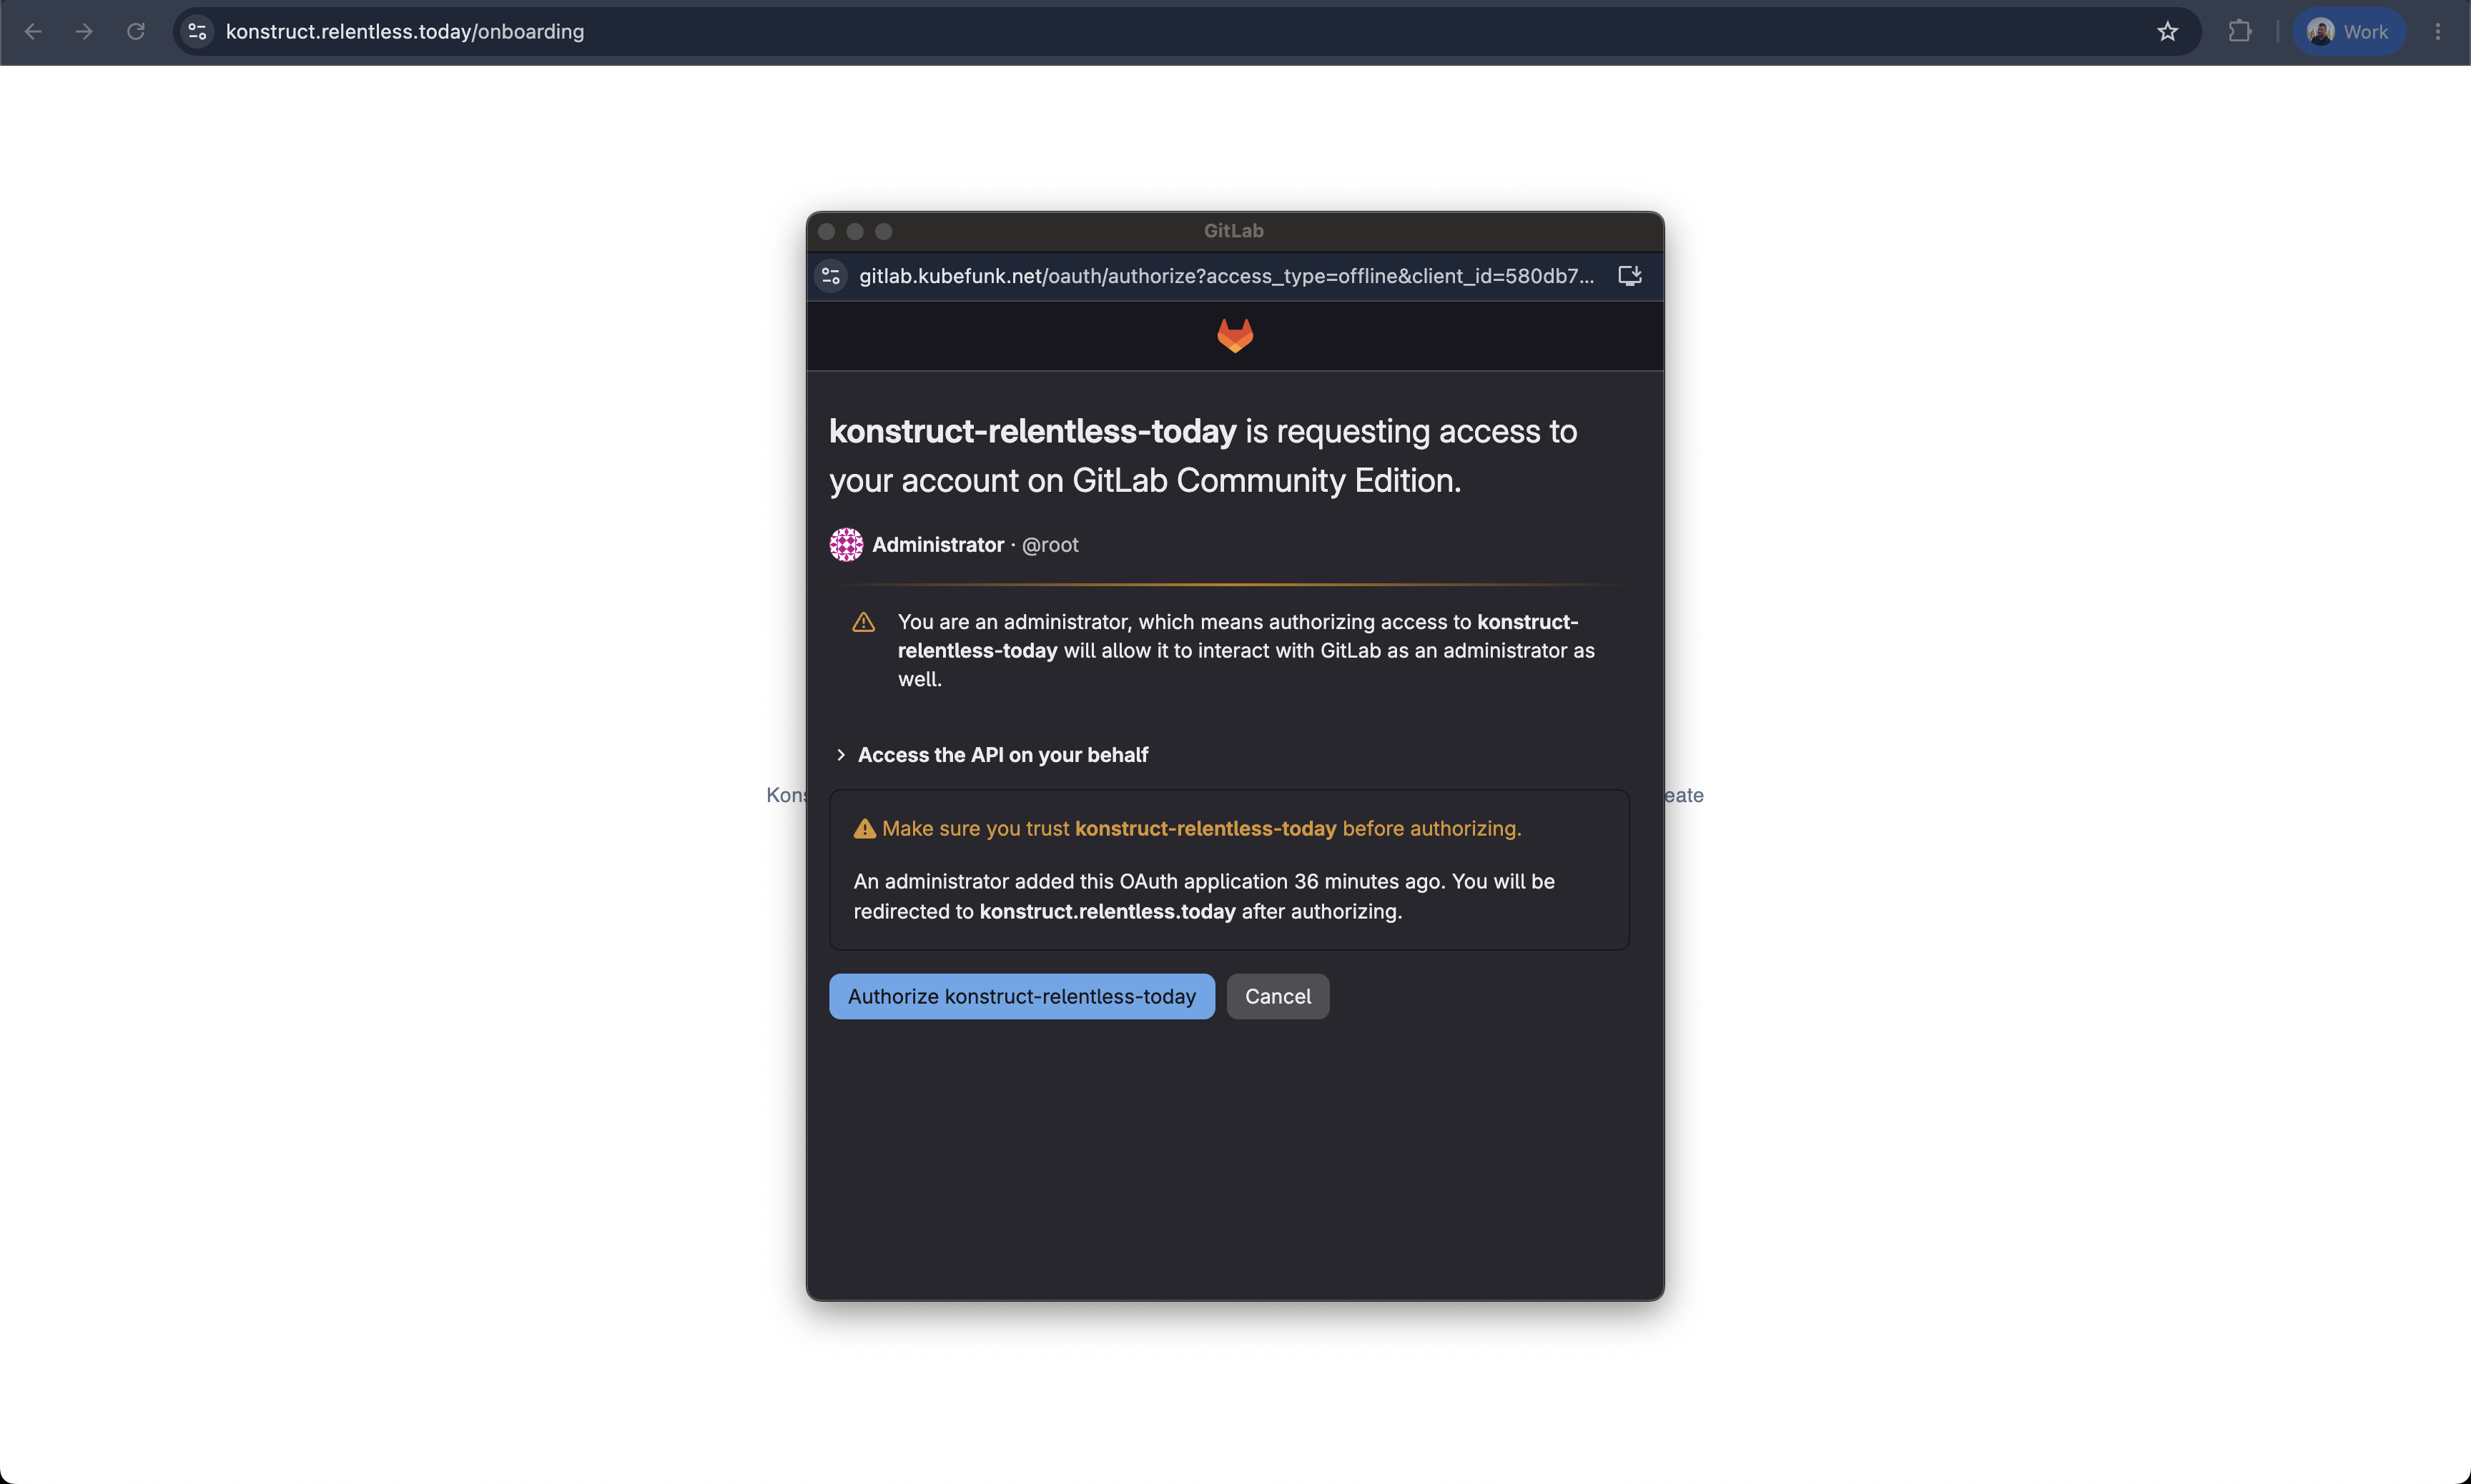
Click Connect with GitLab — a popup opens for OAuth against your self-hosted instance. Make sure you are signed in to GitLab as a user with Owner access to your group.
 note
noteIf you authorize as a GitLab administrator, GitLab warns that the application can interact with GitLab as an administrator. For production installs, prefer a dedicated non-admin user that owns only your platform group.
-
Click Authorize — the popup closes and Konstruct shows your GitLab groups
-
Select the group where Konstruct should create and manage repositories (only groups where you have Owner access appear)
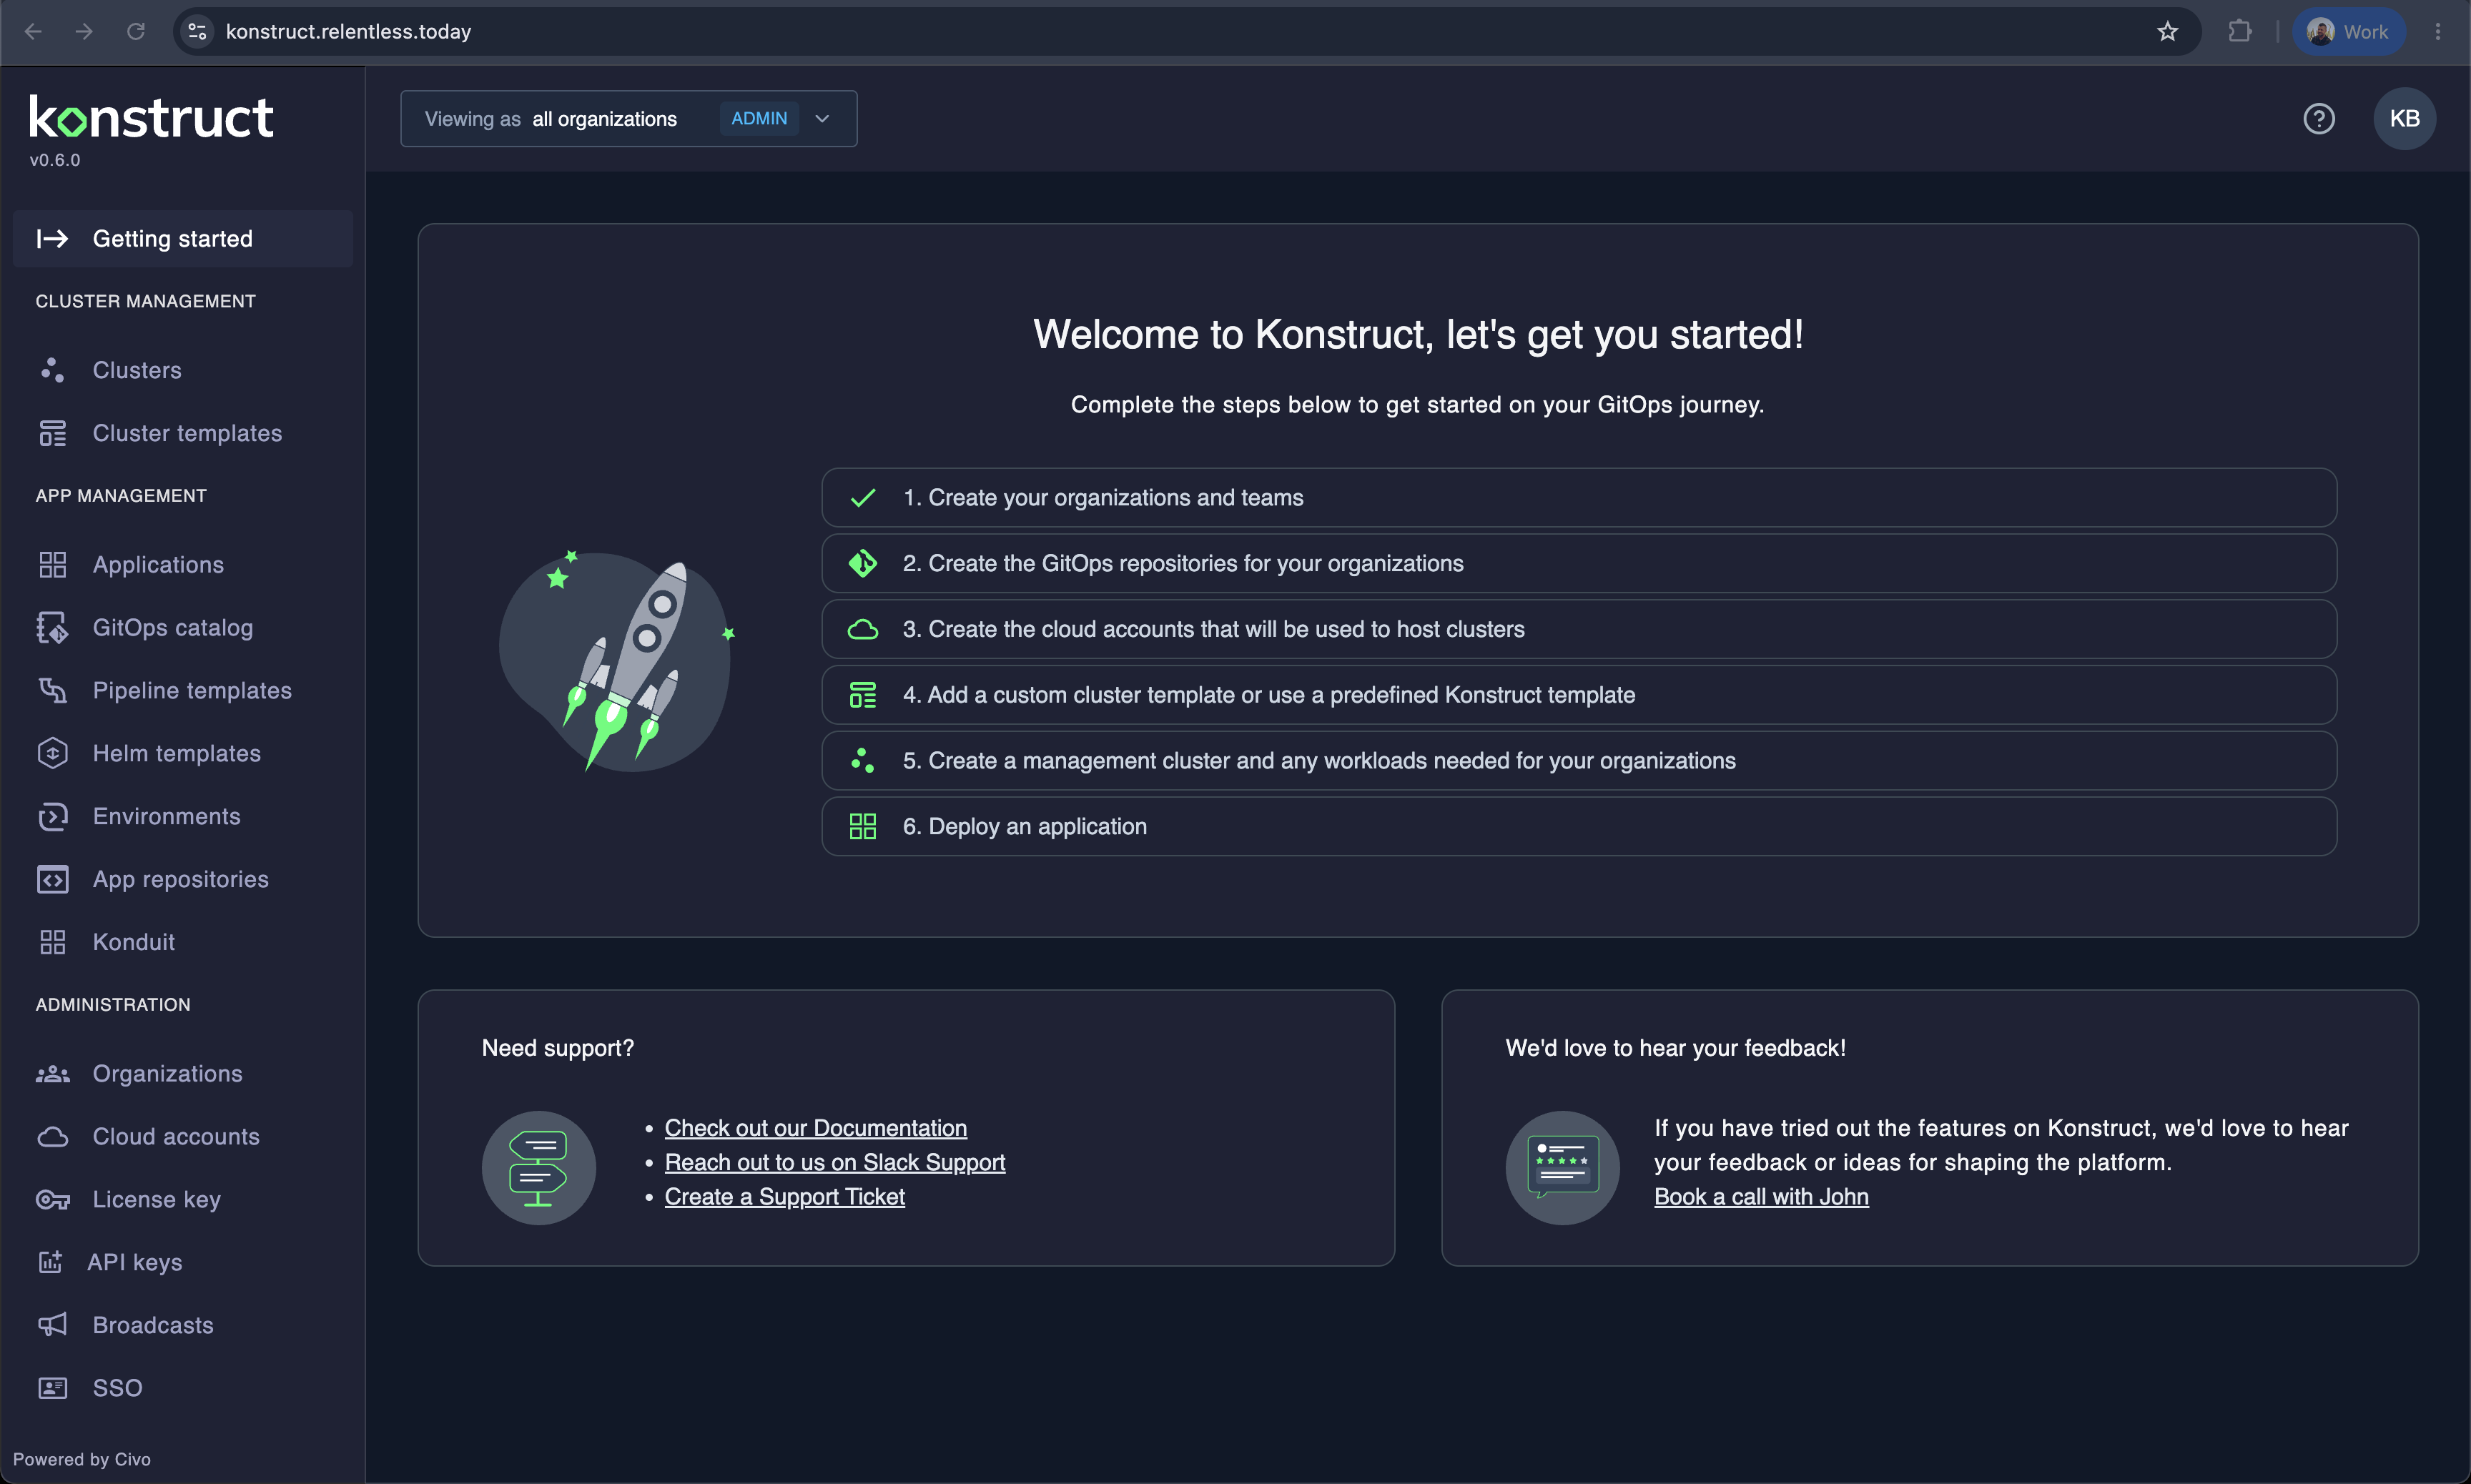
Welcome page
After connecting, Konstruct redirects you to the home page with a setup checklist:
What happens behind the scenes
When you connect GitLab, Konstruct automatically:
- Stores the GitLab OAuth connection
- Creates a bootstrap Project custom resource
- The team-management-operator hydrates a GitOps repository (
<group>/<gitops_repo_name>) with platform templates - Argo CD is installed and takes over management of all platform components — including the Konstruct chart itself, pinned to the
chart_versionfrom your install
Verify
# All pods running
kubectl get pods -n konstruct-system

# After onboarding completes, ArgoCD manages everything
kubectl get pods -n argocd
kubectl get applications -n argocd

# Check the gitops repo was created in your GitLab group
Troubleshooting
Dex CrashLoopBackOff: "malformed bcrypt hash"
kubectl logs -n dex deploy/dex
# error parse config file ... malformed bcrypt hash: hashedSecret too short
The bcrypt hash in dex_config.admin_password was corrupted — most commonly by shell expansion eating the $2a$10$ prefix when the hash passed through an unquoted heredoc or double-quoted string. Fix the value in terraform.tfvars (paste it inside single quotes or via an editor), then re-seed Vault and let the config resync:
terraform apply -replace="module.konstruct-bootstrap-civo.kubernetes_job_v1.vault_config"
Dex recovers on its next restart once External Secrets syncs the corrected value (~10s refresh interval).
Vault jobs stuck
The vault-handler job initializes and unseals Vault; vault-config seeds platform secrets. If pods wait on Vault:
kubectl get jobs -n vault
kubectl logs -n vault job/vault-handler
kubectl get secret -n vault vault-unseal-secret
Certificates stuck in Pending
kubectl describe challenges -A
HTTP-01 challenges flow through the Envoy Gateway on port 80 — confirm your Civo firewall allows 80 and that dig konstruct.<your-domain> resolves to the gateway's load balancer IP.
OAuth fails after login
Verify the GitLab OAuth app's redirect URIs exactly match your domain, and that gitlab_config.base_url has no trailing slash.